
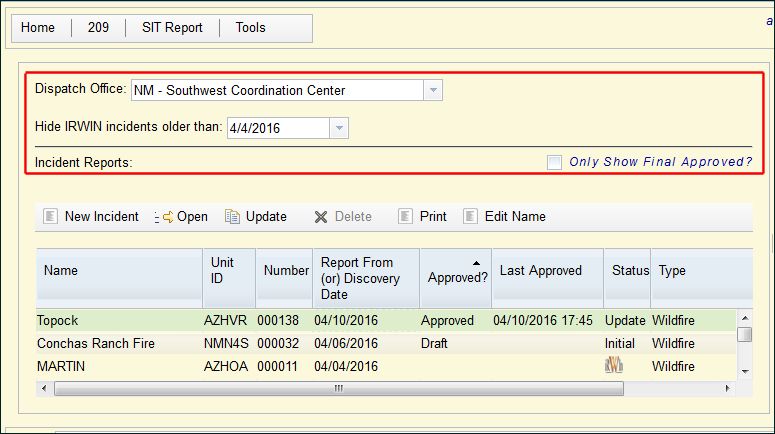
- Dispatch Office
Select the appropriate dispatch office from the drop‐down list. By typing the first two letters of the state, the application displays all offices for that state. For example, typing in "NV" brings up all the dispatch centers in Nevada.
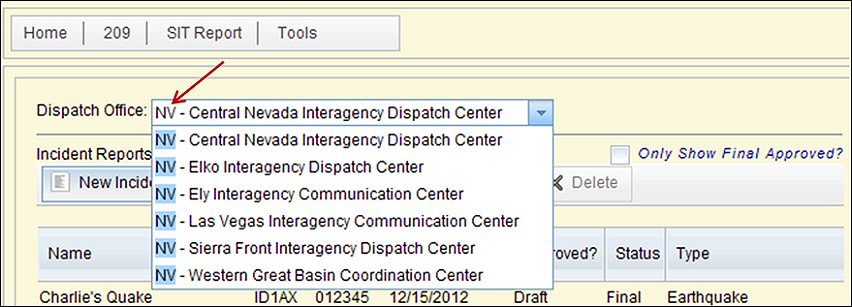
Entering the correct dispatch center, determines selection options the application provides throughout the 209 data entry process. For example, when you select NV‐EIC (Elko Interagecy Dispatch Center), the application displays only districts, forests, counties, and units within the EIC dispatch zone. After you select a dispatch center, all 209 reports for that center appear in the incident list on the left side. This list includes incidents from IRWIN.
- Hide IRWIN
You can filter by date to minimize the incidents listed if you prefer.

- Incident Report: Only Show Final Approval?
If this block is enabled, only incidents with a Final 209 will populate the Incident Reports Pane.

Incident Reports Pane - Incident List
Incidents list in this pane are populated through the IRWIN application. If an incident does not populate, it is due to the dispatch center using WildCAD 5.0 or earlier.
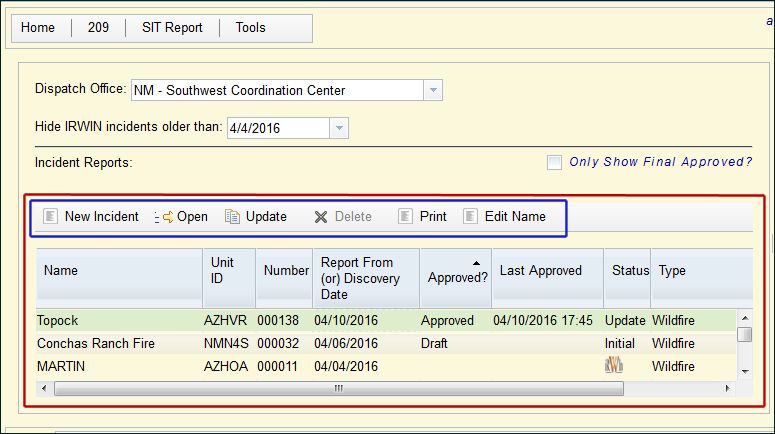
The Incident Reports Pane offers the following options:
- New Incidents
Starts a new incident record for the selected dispatch center. (Only use if incident is not listed in the current pane.)
- Open
Allows a pre-existing incident to be opened for viewing only.
Any Draft or Approved 209 report can be opened for viewing.
- Update
Allows a pre-existing incident to be opened for updating.
This opens a copy of an approved 209 to be used for updating. Most previous information is carried over to the new draft for updating. An existing draft 209 (not yet approved) cannot be updated (Updated button is “grayed out”). There can only be one draft 209 for an incident at one time.
 NOTE: Update allows the most current Approved 209 report to be used to create a new draft 209 report.
Most information from the previous 209 report will be copied to the new draft 209 report.
- Delete
Allows a draft report to be deleted. (Final approved reports cannot be deleted from the system. See below.)
NOTE: Delete is only applicable for an incident NOT generated through IRWIN. If you delete an IRWIN
incident, it will repopulate into the incident list through IRWIN.
- Print
Print the current approved 209.
- Edit Name
Allows user to edit the name for the current 209 or for all updates to the current 209.
Incident Reports Pane - Open Incident Preview Screen
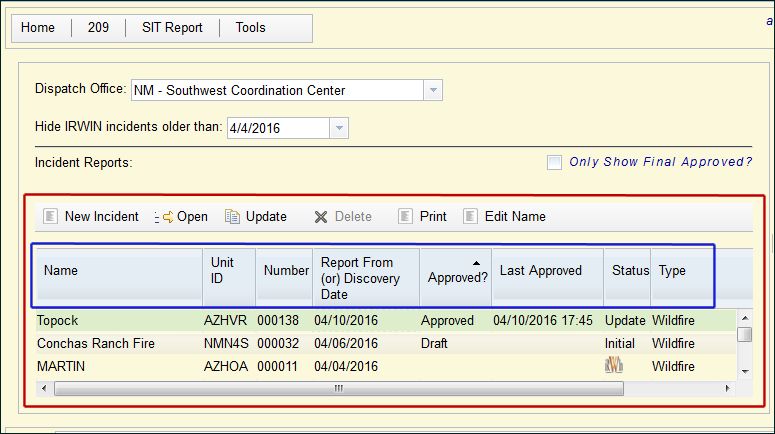
- Name
Incident name.
- Unit ID
The NWCG unit identifier for the incident managing agency (ID-BOD, etc.).
- Number
The unique incident number.
- Report from Date
The date that a report was submitted.
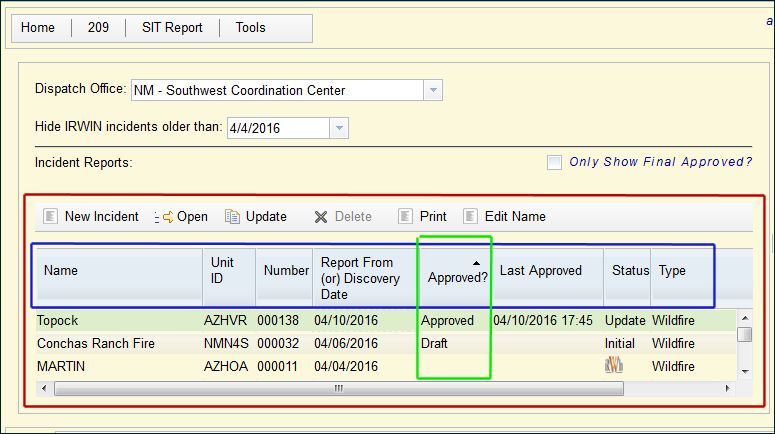
- Approved?
Status of an incident’s 209 report, either Draft or Approved.
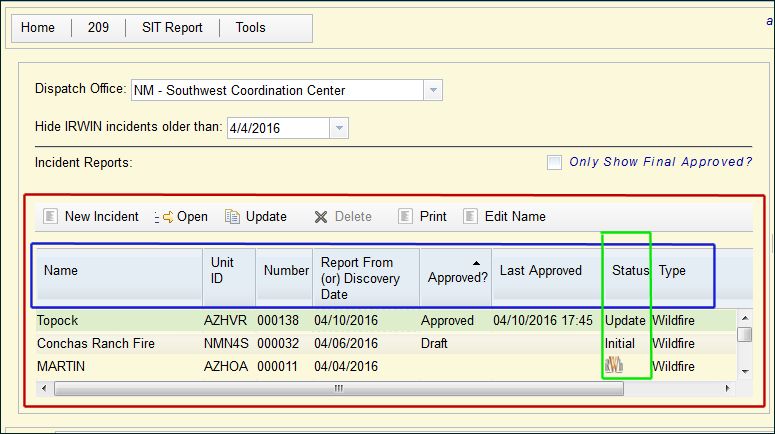
- Status
The status of the current 209 report for an incident either Initial, Update, or Final. A Final will not display in this column. It will appear only when the "Only Show Final Approved?" is enabled.
NOTE: If you check Only Show Final Approved, located above the Preview Screen, only incidents with a Final 209 completed will populate.
- Type
The type of incident (wildfire, hurricane, etc.)
You can sort incidents using any of the above headers.